How to Install phpMyAdmin 4.2.7 on CentOS/RHEL 6/5 and Fedora 20/19
Rahul Databases, Linux Tutorials 22 Comments
phpMyAdmin is web-based client written in php for managing MySQL and MariaDB databases. It provides a user friendly web interface to access and manage your databases. To ease usage to a wide range of people, phpMyAdmin is being translated into 72 languages and supports both LTR and RTL languages.

Congratulation’s You have successfully installed phpMyAdmin. Using single phpMyAdmin we can manage multiple MySQL servers by adding multiple remote MySQL server. Use this article to add multiple MySQL hosts in phpMyAdmin.
Features of phpMyAdmin:
- Friendly web interface
- Supported most of the MySQL features:
- Browse and drop databases, tables, views, fields and indexes.
- Create, copy, drop, rename and alter databases, tables, fields and indexes
- Manage MySQL users and there privileges
- Import data from CSV and SQL
- Export data to various formats: CSV, SQL, XML, PDF, ISO/IEC 26300 – OpenDocument Text and Spreadsheet, Word, LATEX and others
- Administering multiple servers
This article will help you to install phpMyAdmin on CentOS/RedHat System. It required Apache, PHP and MySQL to be installed on server. If you do not have them read our turtorials to how to install them.
Step 1: Enable Remi Repository
phpMyAdmin most updated package is available under remi repository. Install it in your system using following commands.
CentOS/RHEL 6: # rpm -Uvh http://rpms.famillecollet.com/enterprise/remi-release-6.rpmCentOS/RHEL 5: # rpm -Uvh http://rpms.famillecollet.com/enterprise/remi-release-5.rpmFedora 20: # rpm -Uvh http://rpms.famillecollet.com/remi-release-20.rpmFedora 19: # rpm -Uvh http://rpms.famillecollet.com/remi-release-19.rpmFedora 18: # rpm -Uvh http://rpms.famillecollet.com/remi-release-18.rpm
Step 2: Install phpMyAdmin
After adding remi repository, install phpMyAdmin using yum package manager. All the dependencies will automatically be installed.
# yum --enablerepo=remiinstall phpMyAdmin
Step 3: Configure phpMyAdmin
phpMyAdmin by default allowed to access from localhost only. If you want to make it accessible from remote computers edit /etc/httpd/conf.d/phpMyAdmin.conf and update all 127.0.0.1 with your network like below or enable phpMyAdmin access for everyone.
Alias /phpMyAdmin /usr/share/phpMyAdmin
Alias /phpmyadmin /usr/share/phpMyAdmin

## Comment below section to allow everyone
<Directory /usr/share/phpMyAdmin/>
    <IfModule !mod_authz_core.c>
     Order Deny,Allow
     Deny from All
     Allow from 192.168.1.0/24
     Allow from ::1
   </IfModule>
</Directory>

<Directory /usr/share/phpMyAdmin/libraries/>
    Order Deny,Allow
    Deny from All
    Allow from None
</Directory>

<Directory /usr/share/phpMyAdmin/setup/lib/>
    Order Deny,Allow
    Deny from All
    Allow from None
</Directory>

<Directory /usr/share/phpMyAdmin/setup/frames/>
    Order Deny,Allow
    Deny from All
    Allow from None
</Directory>
After updating phpMyAdmin apache configuration file, restart Apache service to reload new settings.
# servicehttpd restart
Step 4: Access phpMyAdmin in Browser
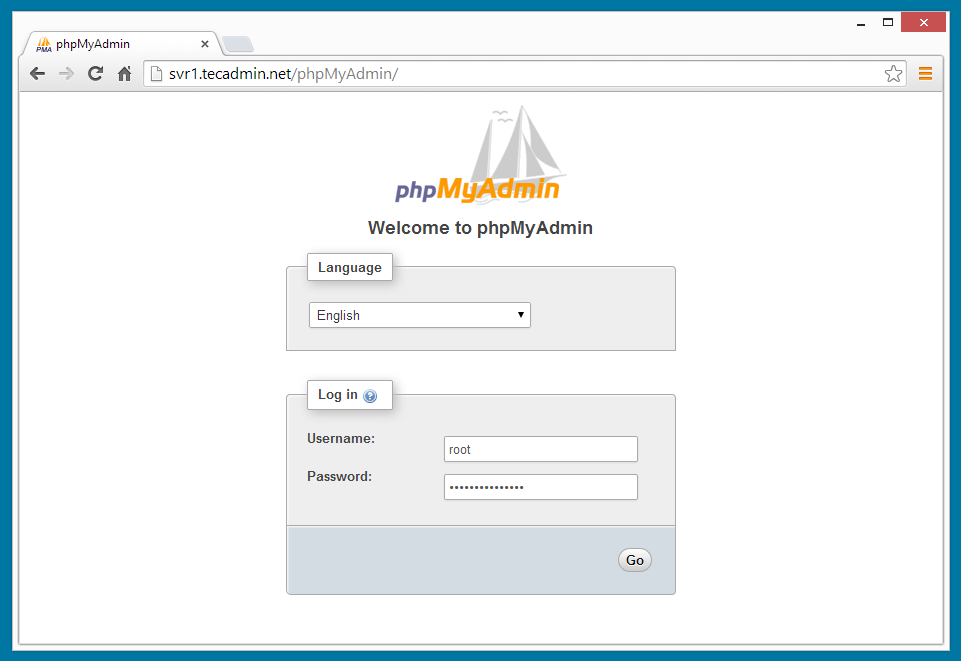
Now you can access phpMyAdmin in browser using following url. Change svr1.tecadmin.net with your server IP/FQDN.
http://svr1.tecadmin.net /phpMyAdmin/ Login Details: Use MySQL username and password.
No hay comentarios:
Publicar un comentario